Turbochargers & Components
Our semi-automatic and fully automatic balancing machines for turbochargers in passenger cars and commercial vehicles feature high-speed and low-speed, high-precision, are universally applicable, and with short cycle times to ensure your quality assurance and optimized processes.
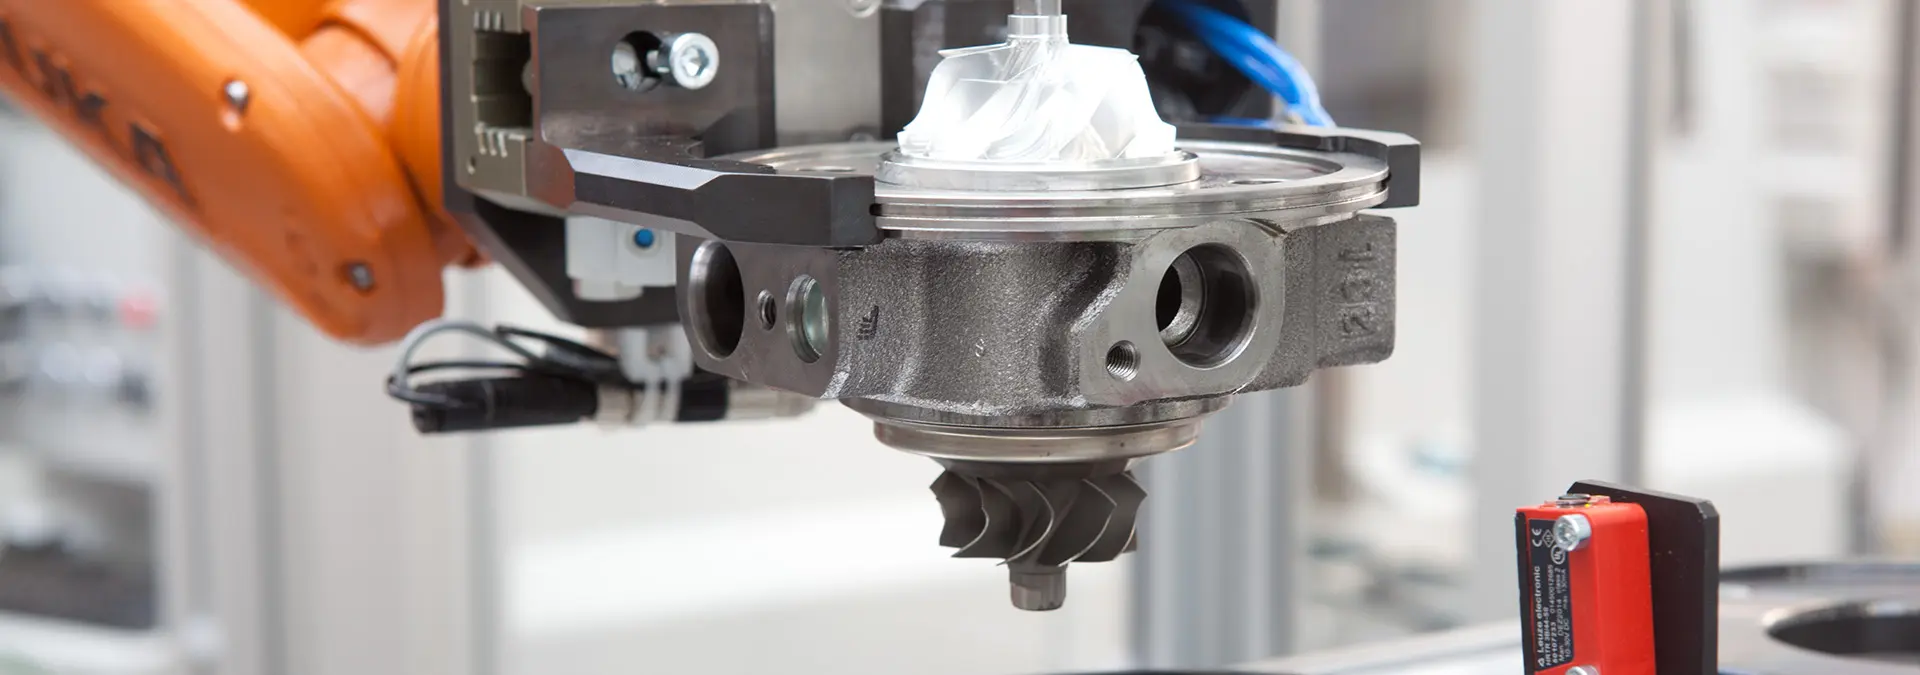
Innovative technology for consistently high product quality
New standards in quality assurance Maximize the performance and service life of turbochargers. With our balancing machines, you can identify and correct unbalances before commissioning receiving the benefits of no vibrations, unpleasant noises and premature wear.
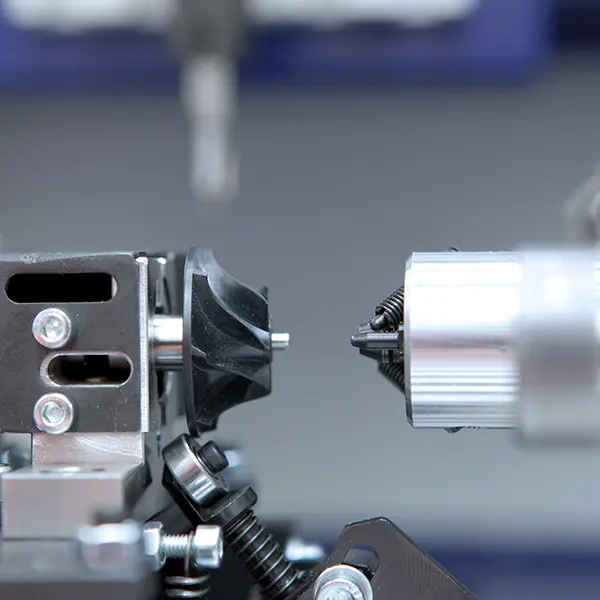
Many areas of application from prototype development to series production We provide you with customized answers to a wide range of challenges, from manual, highly flexible machines for small quantities to semi- and fully automated solutions. Whether development and prototype construction or integration into fully automated production lines, you will find the balancing machine you need with us.
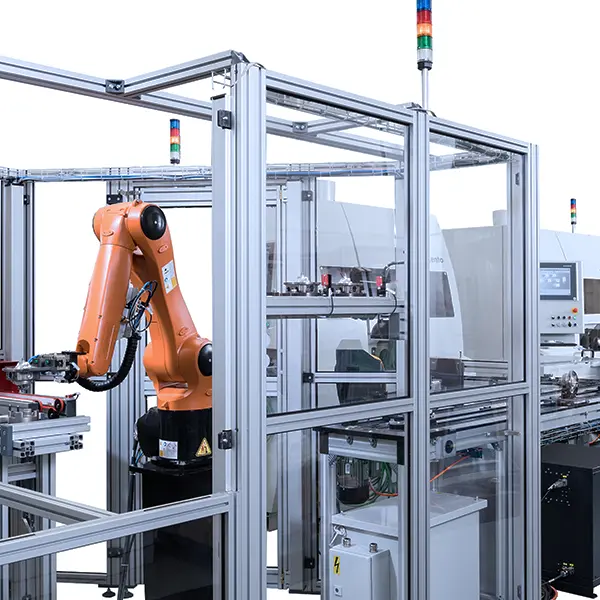
Efficient balancing at low and high speeds The balancing machines from Schenck offer advantages for turbochargers and components. With low-speed balancing, the unbalance values are measured at low speeds in an air bearing, then brought up to the measured speed and braked again for simpler processes, more favorable tooling and clean machines. High-speed balancing minimizes the axial load on the rotor through pressure compensation without special tooling and achieves 90% of the operating figures. This enables a higher signal resolution and a more precise evaluation of the run-up process.
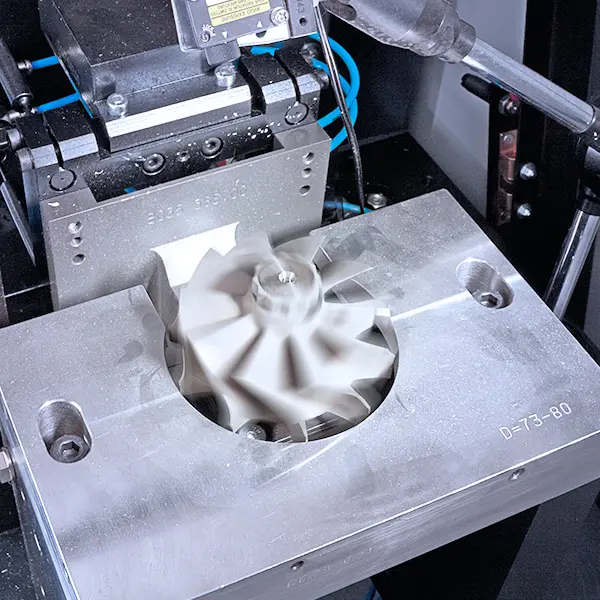
Advantages of our balancing machines for your turbochargers
Universally applicable
Ideal for a wide range of rotor sizes, rotor materials and production quantities.
Short cycle times
Maximum efficiency thanks to short cycle times, simple retooling options and high-precision measuring systems.
Precise measurement results
Exceptional measuring accuracy thanks to a patented air bearing.
Short changeover times
Easy machine set-up for different rotor types thanks to precise adjustment elements and scales for exact positioning.
Flexibly customizable
Modular design and versatile accessories for optimum expandability and also for titanium processing.
High speed and low speed
Suitable balancing options for your rotor and your needs.
Versions of Schenck balancing machines for turbochargers and components Patented technology for every rotor size.
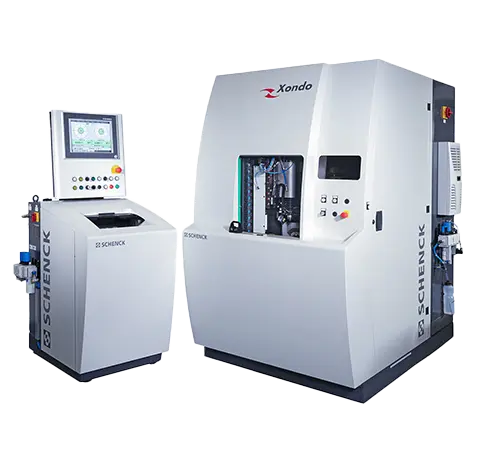
Turbochargers & Components
Turbocharger compressor wheels
fully automatic
semi-automatic
Xondo 010 - 500
Balancing machine for turbocharger core assemblies: The machines in the Xondo 010 - 500 series are suitable for high-precision measurement and exact correction of the dynamic unbalance of finished turbocharger compressor wheels in medium and high series production quantities. Unbalance measurement is carried out either fully automatically or semi-automatically by polar milling on two levels and with up to two correction processes. A loading gantry is available for loading and unloading.
- Maximum rotor weight: up to 1,500 g
- Maximum rotor diameter: up to 180 mm
- Measurement inaccuracy: up to 0.002 gmm/kg - depending on rotor size
- Cycle time: 25 to 60 s - depending on the machine version
Downloads
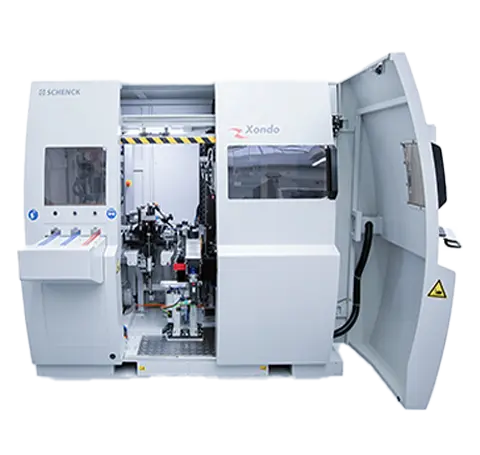
Turbochargers & Components
Turbocharger turbine rotor
fully automatic
semi-automatic
Xondo 020 - 400
Balancing machine for turbocharger turbine rotors: Our solution for measuring and correcting the dynamic unbalance of finished turbocharger turbine rotors are the balancing machines in the Xondo 020 to 400 series. They are particularly suitable for series production of medium and large quantities, with a choice of fully automatic or semi-automatic unbalance measurement and fully automatic unbalance correction by grinding on two levels and with several correction processes. Loading and unloading takes place via a loading gantry.
- Maximum rotor weight: up to 1,600 g
- Maximum rotor diameter: up to 125 mm
- Measurement inaccuracy: up to 0.3 gmm/kg - depending on rotor size
- Measuring time: 35 to 60 s - depending on the machine version
Downloads
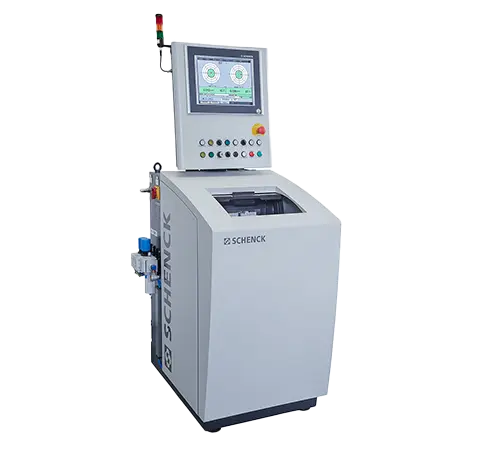
Turbochargers & Components
Turbocharger turbine rotor
turbine rotors
manual
Xano
Balancing machine for turbocharger compressor wheels and turbine rotors: Xano is the optimum solution for measuring the unbalance of finished impellers in series production of low and medium quantities in quality control and in research and development, with unbalance measurement on two levels and unbalance correction in several work steps using an optional correction unit. Loading and unloading is done manually.
- Maximum rotor weight: up to 5,4 kg
- Maximum rotor diameter: up to 180 mm
- Balancing speed: up to 3,200 min -¹ - depending on machine version
- Measuring accuracy: up to 0.002 gmm/kg - depending on machine design
Downloads
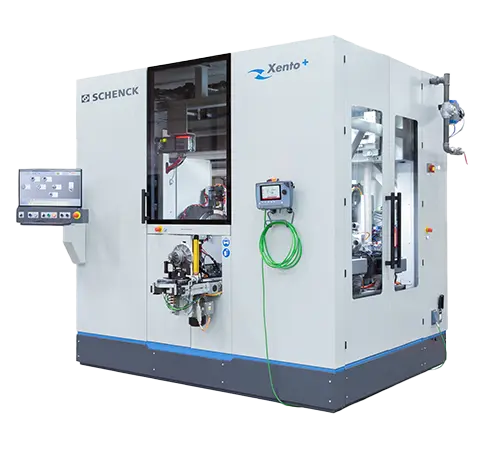
Turbochargers & Components
Turbocharged fuselage groups
fully automatic
semi-automatic
Xento(+)
Balancing machine for turbocharger core assemblies: State-of-the-art with automatic unbalance measurement and automatic unbalance correction, pulsation measurement and vibration analysis, the Xento and Xento+ balancing machines are suitable for vibration and pulsation measurement on turbocharger trunk assemblies, speed control and unbalance calculation in up to three planes. Their range of functions includes manual and automatic loading, DMC scanning, speed and angle measurement as well as two-plane correction by milling.
- Maximum rotor weight: up to 12 kg
- Maximum rotor diameter: up to 260 mm
- Balancing speed: up to 350,000 min -¹ - depending on machine version
- Cycle time: up to 70 s - depending on the machine version
Downloads
Turbochargers & Components
Turbocharged fuselage groups
fully automatic
semi-automatic
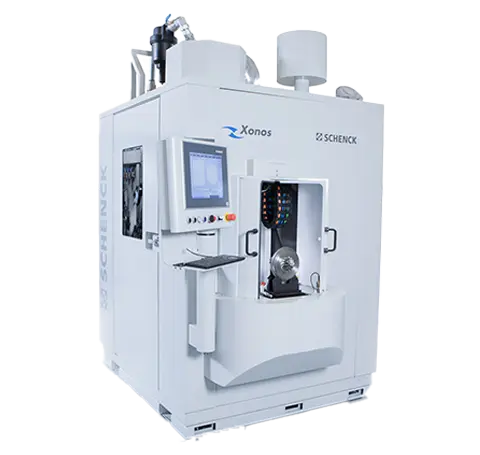
Xonos
Balancing machines for turbocharger core assemblies: With its compact design, integrated shaft magnetization and an oil lubrication system with parameter control, Xonos is a powerful and versatile balancing machine for turbocharger core assemblies. They are suitable for vibration and pulsation measurement, speed control and unbalance calculation in two planes and with DMC scanning, shaft magnetization for speed and angle measurement and two-plane balancing by milling in a single-station machine. Loading is manual or automatic.
- Maximum rotor weight: up to 16 kg
- Maximum rotor diameter: up to 300 mm
- Balancing speed: up to 250,000 min -¹ - depending on machine version
- Cycle time: up to 120 s
Downloads
Worth knowing Facts and figures about our balancing machines for turbochargers and components.
-
Special features
-
Xondo 010 - 500
- Fully automatic or semi-automatic balancing of turbocharger compressor wheels
- Patented air bearing for extremely high measuring accuracy
- Digital measurement data processing and numerically controlled unbalance correction
- Integration into commercially available transport systems via loading portal
- Simple conversion to other rotor types
- Short cycle times
- Very compact design
- Easy to move as a monoblock
- optionally also for titanium machining
Xondo 020 - 400
- Fully automatic or semi-automatic balancing of turbocharger-turbine rotor-shaft assemblies
- Digital measurement data processing and numerically controlled unbalance correction
- Loading portal and standard transport system
- Simple conversion to other rotor types
- Short cycle times
- Very compact design
- Easy to move as a monoblock
Xano
- Patented air bearing for impeller mounting for extremely high measuring accuracy
- Short acceleration and deceleration times due to air drive
- Digital measured value display and direct unbalance and correction display
- Simple conversion to other impeller types
Xento(+)
- Automatic unbalance measurement and automatic correction
- Measurement over the entire speed range
- Automatic equalization on two levels
- Integrated pulsation measurement
- Vibration analysis for quality tests
Xonos
- Automatic unbalance measurement and automatic correction
- Measurement over the entire speed range
- Automatic equalization on two levels
- Integrated pulsation measurement
- Vibration analysis for quality tests
-
Areas of application
-
Xondo 010 - 500
- Suitable for: Measuring and correcting the dynamic unbalance of finished turbocharger compressor wheels carried out either fully automatically or semi-automatically by polar milling on two levels and with up to two correction processes.
- Area of application: Series production of medium and high quantities.
Xondo 020 - 400
- Suitable for: Measuring and correcting the dynamic unbalance of finished turbocharger turbine rotors. Fully automatic unbalance or semi-automatic unbalance measurement and fully automatic unbalance correction by grinding on two levels and with several correction processes. Loading and unloading by means of a loading gantry.
- Area of application: Series production of medium and high quantities.
Xano
- Suitable for: Measuring the unbalance of finished impellers on two levels and unbalance correction by optional correction unit in several correction steps. Loading and unloading is done manually.
- Area of applications: Series production of low and medium quantities, quality control, research and development.
Xento(+)
- Suitable for: Vibration and pulsation measurement on turbocharger trunk assemblies as well as speed control and unbalance calculation in up to three planes.
Xonos
- Suitable for: Vibration and pulsation measurement, speed control and unbalance calculation in two planes for improved vibration reduction for turbocharger core assemblies.
CAB 950
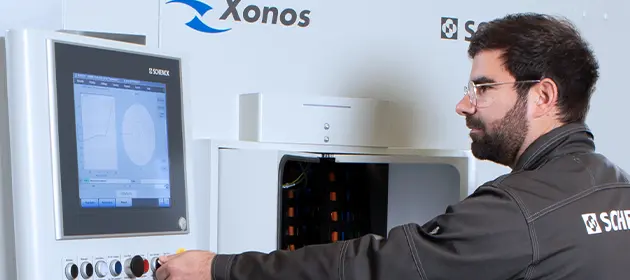
The measuring device for series production with simple operation, highly accurate measured value acquisition and precise equalization calculation.
Precise mechanics and measurement technology
CAB 950 is not just a measuring device, but an intuitive human-machine interface (HMI), with convenient and clear access to all machine functions as well as precise mechanics and modern CAB measurement technology for maximum precision in unbalance correction.
Effective balancing of turbochargers and components
Many standard functions ensure even greater accuracy when balancing turbochargers and components, for example, statistical calibration, polar-optimized balancing, differential angle measurement or ambient disturbance measurement.
Extras for future-proof quality management
CAB 950 offers online statistics with original unbalance and process analysis and a certified Q-DAS interface (AQDEF) for your quality management.
