Airlines & Aerospace
Our balancing machines and moment weighing scales for aerospace drives ensure maximum precision, ease of use, and modular flexibility delivering reliability and performance without compromise contributing to your economic success.
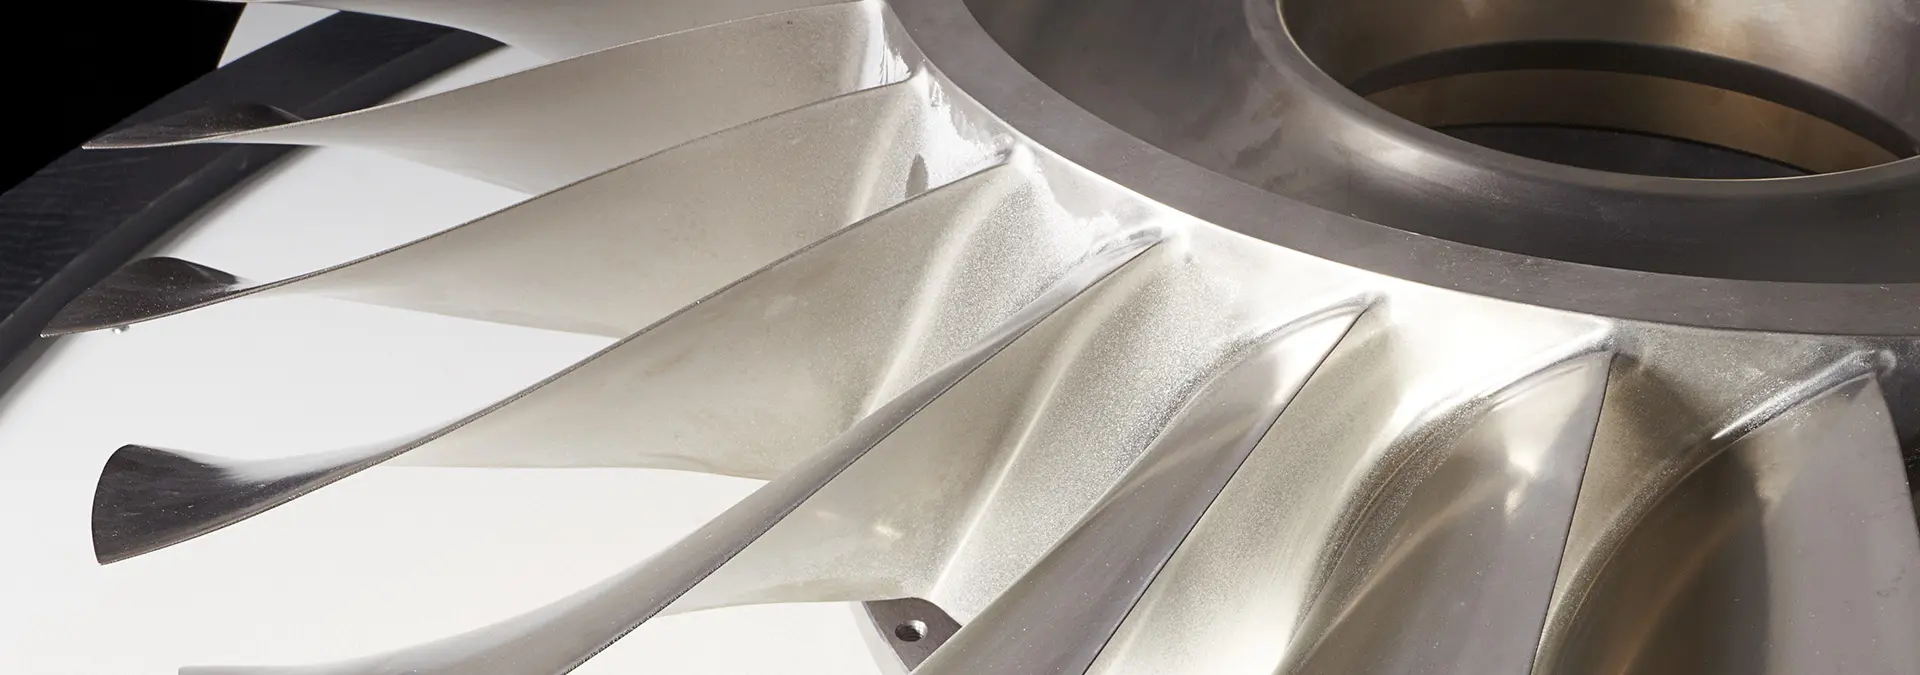
Powerful balancing solutions for complex requirements
We provide comprehensive solutions, including specialized tooling, for all jet engines – including industry-leading models such as the Leap, CFM56, Pratt & Whitney GTF, and Trent.
Efficiency and durability in balance Profitability starts with the right balance. Our balancing machines and moment weighing scales, combined with the Bladis 4 software, reduce vibrations in engine rotors increasing the longevity and efficiency of engine. Schenck Tooling offers innovative solutions for the precise handling of components, modules, and assemblies, including rotors from stationary gas turbines.

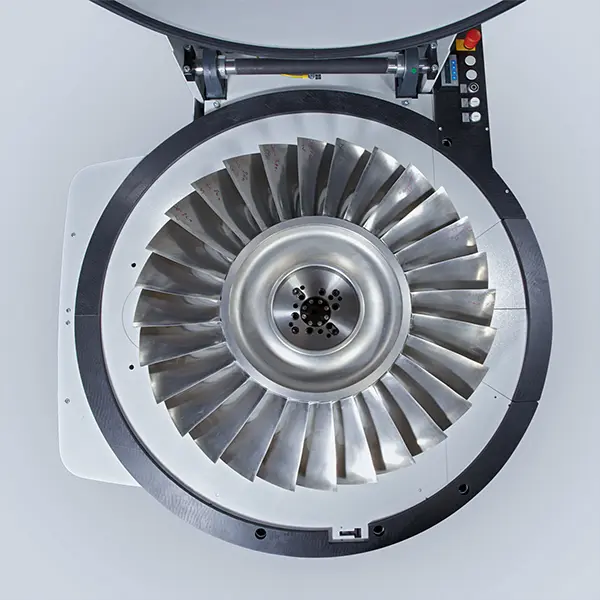
Precisely measured and flexibly expandable Our horizontal balancing machines for turbines and compressors comply with SAE ARP 4048 standards and are flexibly expandable helping you meet current and future requirements. When balancing compressor and turbine discs or spacer rings for jet engines, you benefit from the high measurement accuracy of our vertical balancing machines with permanent calibration and options for balancing in one or two planes.
Moment weighing scales with new generation precision The new generation of our moment weighing scales optimizes the blade distribution on rotors by precisely measuring the mass and torque of engine blades. They comply with SAE ARP standards and offer a wide range of options to meet the current and future needs of the aerospace industry.
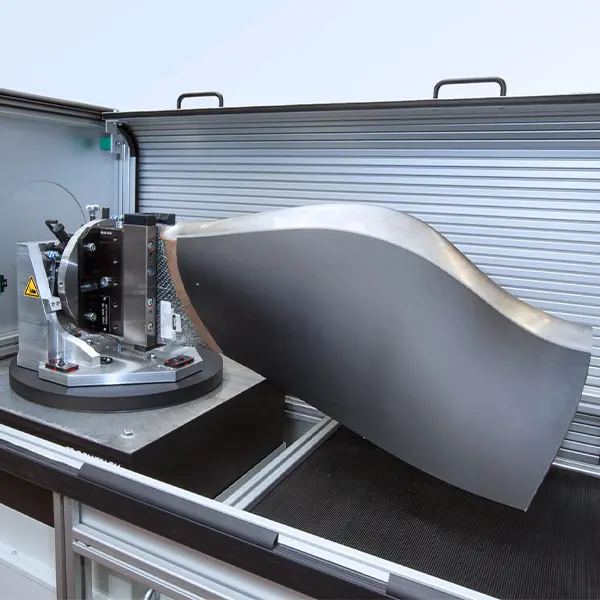
Expertise in aerospace For nearly 50 years, Schenck RoTec has been a leading company in the aerospace industry. Our expertise is in testing and manufacturing rotating components used in satellites, commercial rockets, jet engines, electric motors, and other critical space technologies. We advance challenging projects to ensure maximum performance under extreme conditions. This quality is guaranteed in our specialized machinery and outstanding service, which supports us from prototype development onward.

Advantages of our balancing machines for the aerospace industry
High precision
Our machines provide precise and efficient balancing of engine components such as turbines, blades, and compressors.
High measurement accuracy
Digital measurement data processing and high accuracy ensure precise and reliable results.
Machine design according to SAE ARP standards
All machines in this series meet the requirements of the current SAE standards.
Configurations of our series for the aerospace industry We offer complete solutions for balancing and weighing with maximum measurement accuracy and flexibility.
Airlines & Aerospace
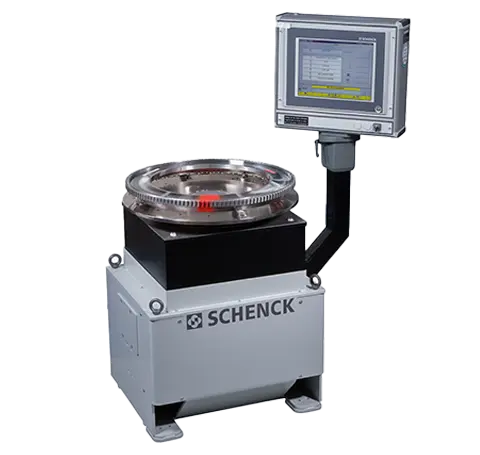
Engine blades
WM
WME
Moment weighing scales WM(E)
Our moment weighing scales for engine components (WM and WME series for engine blades) enable highly accurate determination of radial, axial, and tangential moments. They operate according to the force measurement principle, are permanently calibrated, and are insensitive to temperature fluctuations. The special friction-free and backlash-free mounting design of the measuring arms ensures they operate wear-free and with high accuracy regardless of the component weight.
- Maximum weight: up to 200 kg
- Measurement duration: 2 s to 5 s
- Radial torque: from 0,02 kgm to 14 kgm
- Sensitivity: from 0.1 gmm/kg to 500 gmm for blades up to 20 kg
Airlines & Aerospace
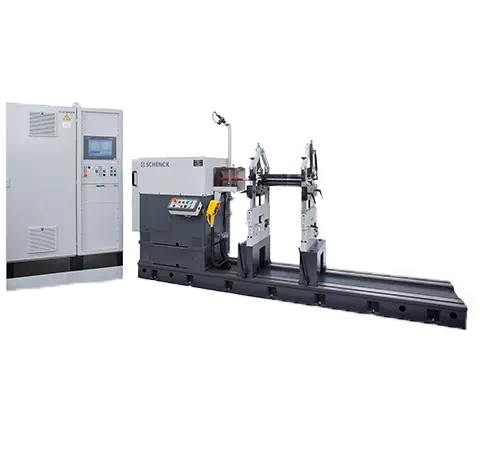
Horizontal
HL
HL 1 - HL 6
The HL series balancing machines with saddle bearings are specially designed for balancing turbines and compressors in the aviation industry. Their modular design ensures maximum flexibility adapting the machine to different balancing tasks as required, for example, by supporting rotors with shaft journals on roller-bearings. High measurement accuracy is guaranteed by digital processing of the measured values.
- Maximum rotor weight: 200 g to 5.000 kg
- Maximum rotor diameter: 360 mm to 4000 mm
- Maximum weight per bearing rack: from 10 kg to 2500 kg
- Length of the machine bed: from 500 mm to 7000 mm
Downloads
Airlines & Aerospace
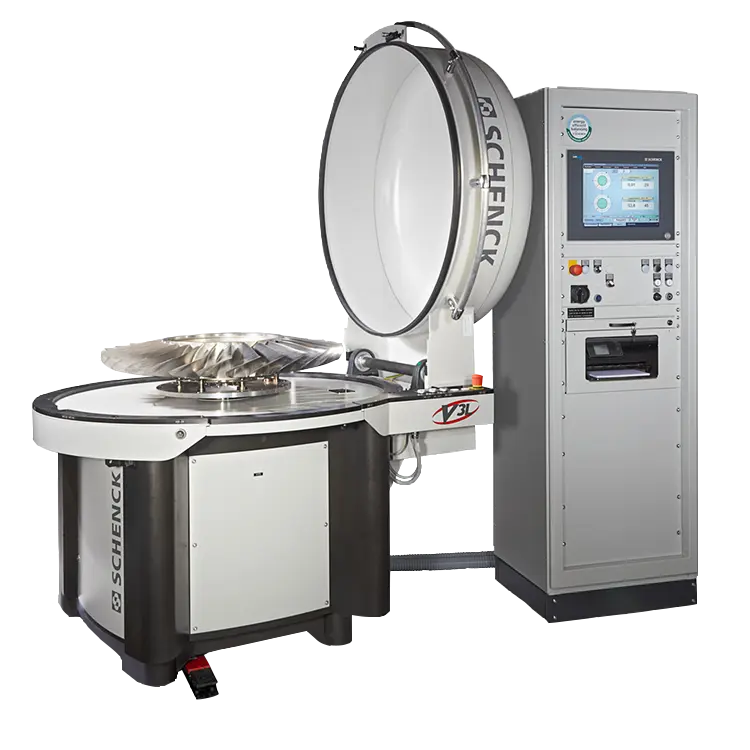
Vertical
VL
VEL
V 2 L – V 5 L, VE 2 L – VE 5 L
Our vertical, force-measuring balancing machines for engine components are characterized by permanent calibration, enabling fast and efficient operation. The V 2 L – V 5 L series allows balancing in one or two planes. The VE 2 L – VE 5 L series is ideal for rotors that only need to be balanced in one plane.
- Maximum rotor weight: 300g to 500 kg
- Maximum rotor diameter: up to 2.083 mm
- Maximum balancing speed: from 950 min⁻¹ to 2000 min⁻¹
- Drive power: from 1.1 kW to 22 kW
Downloads
Airlines & Aerospace
Mass properties
Vibration table
Center of gravity-scales
Machines for determining mass properties
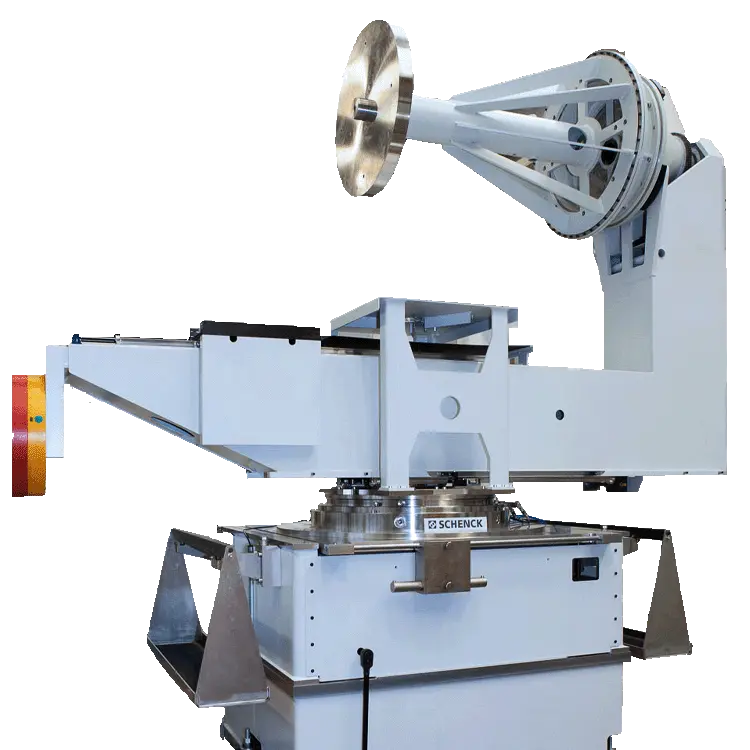
The precise determination of unbalance, center of gravity, and moments of inertia is essential for optimizing the attitude control of satellites in space and their transport. Satellite balancing machines help bring satellite unbalances within tolerance, rotating tables measure the moments of inertia before launch, and center of gravity scales precisely determine the center of mass. Schenck machines enable precise analysis of the mass properties of aerospace systems, components, and payloads.
Downloads
Airlines & Aerospace
Tooling
Tooling for aviation and aerospace
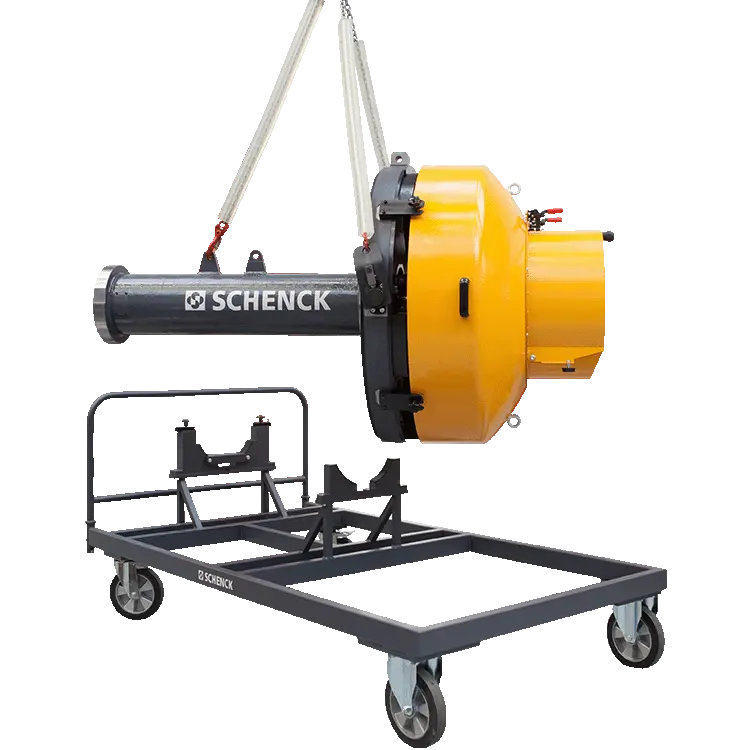
Tooling for balancing and moment weighing:
Optimal results in terms of accuracy and throughput time can only be achieved if the machine and rotor tooling are carefully matched. In addition, the respective task and specific requirements must be taken into account. We offer complete tooling packages for moment weighing as well as horizontal and vertical balancing. Customers receive solutions for their balancing tasks from a single source, as Schenck offers both balancing machines and tooling. The modular tooling concept allows easy adaptation to different balancing machines, both current and older models.
Downloads
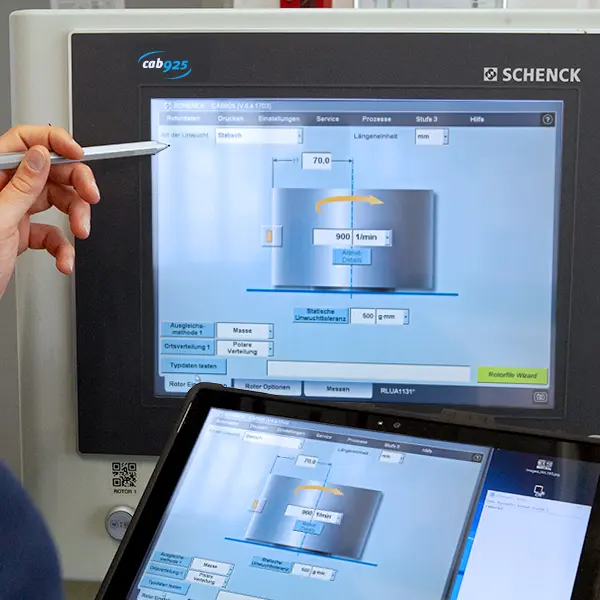
Our CAB 925 and Bladis 4 feature the intelligent measurement system for precise balancing in aerospace.
Software solutions for the aerospace industry
Precise measurement systems are crucial in the aerospace industry – for rotor balancing, blade mass distribution, and determining mass properties. Accurate measurements minimize vibrations, ensure aerodynamic efficiency, and guarantee stability, thereby increasing the service life of systems. Reliable measurement systems are indispensable for meeting the highest safety standards.
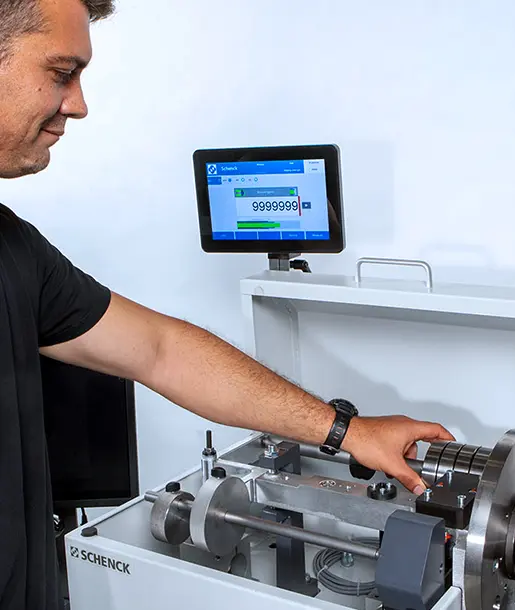
CAB 925 for maximum precision CAB 925 is our solution to the specific requirements of balancing in the aerospace industry and is intuitive to operate, powerful, and highly precise enabling fast and safe work with minimal training required, and that for all relevant rotor variants. This is ensured by its robust design, which is perfectly adapted to its intended use.
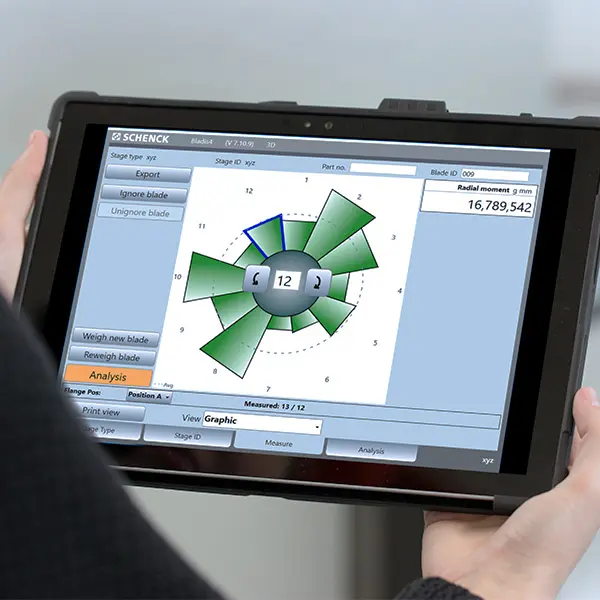
Bladis 4 for optimal blade distribution The Bladis 4 software, in conjunction with our moment weighing scales, ensures the optimized distribution of weighed blades across compressor and turbine stages. The advantages: in the best-case scenario, the unbalance can already be within tolerance by redistributing the blades, eliminating the need for additional balancing steps.
